Subterranean termites (including the most destructive species – Formosan) live and forage in the soil. Some Australian types organize their nest in the termitarium, others in the USA and other countries set the nest under ground. Though, it doesn’t mean that these insects eat cellulose-containing products that are laying on/ in the ground only. They always forage about for wood source and construct shelter-mud tubes to get food in the areas above ground. Sometimes the homeowners detect subterranean termites’ nests, also called cartons, above the ground level, namely inside the exterior walls. Termites of this type are wood destroying and the damage is significant worldwide. To stop these aggressive foragers is the matter of concern for the pest control professional companies that the homeowners can hire. If you feel up to carry the treatment on your own, our article is at hand and is devoted to the problems of control and treatment with Termidor for subterranean termites diy outdoors.
Termidor for subterranean termites diy outdoors in exterior wall and wood treatments
If you detected or suspect subterranean termites that made their way to your home through exterior walls, it is recommended to treat the walls outside, in the area, where the signs of damage and infestation were observed. For this goal, you can apply a non-repellent termiticide, such as, Termidor SC concentrate. It can be diluted for 0.06%, 0.09% and 0.125% concentrations, depending on different intensity of infestations. The exterior wall treatment with Basf Termidor for subterranean termites diy outdoors is necessary for two reasons:
Subterraneans have their nest under ground, as a rule. You won’t be able to treat the nest directly in the exterior walls, for this purpose the soil treatment is performed. However, subterranean workers that are responsible for food gathering, are likely to be present in shelter-tubes and inside the exterior walls during the treatment. In this case, they are destined to die.
The exterior wall treatment controls the sub colony activity. Live termites will pass by the treated areas and then transfer poison to the colony-mates via contact. DIY Termidor application will stop new colony members from entering the home.
For exterior wood and wall treatment prepare the recommended amount of termiticide from Termidor SC:
per 0.06% – 4 gallons H2O + 4 x (0.8 fl.oz) Termidor SC
per 0.09% – 4 gallons H2O + 4 x (1.2 fl.oz) Termidor SC
per 0.125% – 4 gallons H2O + 4 x (1.6 fl.oz) Termidor SC
In order to perform wood and wall treatments with Termidor for subterranean termites diy outdoors, we recommend the homeowners to study the product label thoroughly and start extermination on their own:
- Inspect the exterior walls and structures to figure out where termites are entering the home and to identify their type.
- Put on protective gloves and clothes, closed toe shoes, if necessary and where ventilation is bad, wear goggles and respirator or face mask.
- Locate the exterior wall voids and cavities, where a possible carton, mud-tube or wood gallery are likely to be detected.
- Application can be made to areas in the exterior walls (even inaccessible) by drilling and injecting the 0.125% finished dilution in the case of intensive infestations and 0.06% finished dilution in the case of lack of infestation signs for termite control. Inject Ternidor SC solution, Termidor dry or Termidor foam into the damaged wall void spaces and wood.
- 4 gallons of Termidor SC finished dilution are enough to stretch down the entire exterior wall that was infested.
- Apply this solution for treatment with Termidor for subterranean termites diy outdoors at rate of 1 gallon of finished dilution per square foot around the slab, plumbing lines and utility services.
- Termite carton nests in the exterior walls, trees, firewood piles, and other wood voids can be also injected with o.06%-0.125% finished dilution with the help of pointed injection tool. It is recommended to remove a termite carton nest material from wood voids and cavities, if they are detected.
- Deliver also Termidor termicide formulation to areas around pipes, insulation and obstructions, along cracks and crevices.
- Reinspect in 2-4 weeks after the application of diy termite treatment.
- If infestations are still active and termites are present, re-application is possible (in 30 days after the previous treatment).
Termidor SC exterior perimeter trench treatment for houses on monolithic slab
This method is suitable only for homes built on a monolithic slab. The process is very labor-consuming and time-taking. It comprises five steps:
Preparation
For the soil treatment around the building, in the yard or garden, it is necessary to have the following tools
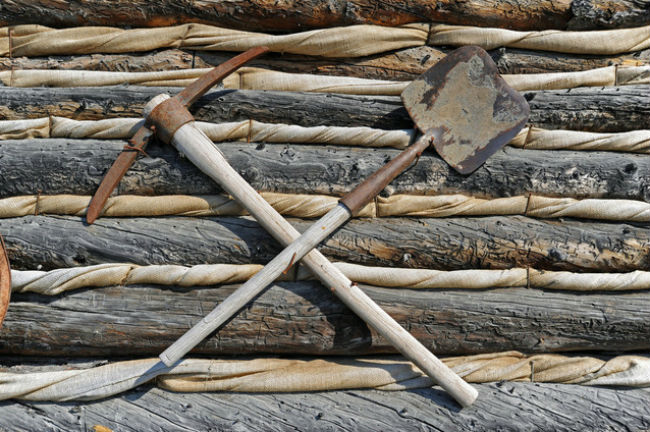
Tools, products and equipment, which are necessary for performing DIY Termidor trench treatment, are listed in the following table| Purpose | for digging a trench | for concrete interrupting areas that should also be trenched | for mixing the termiticide solution: |
|---|---|---|---|
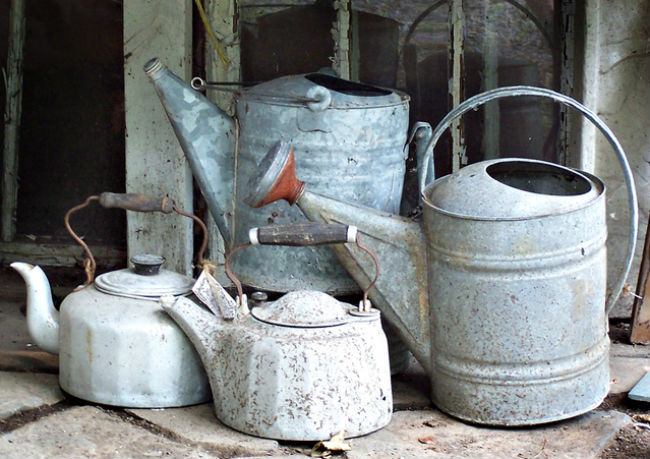
| Required tools and products | a pickaxe (trench shovel) | ½ in x 18 in or ½ in x 24 in concrete drill bit a hammer drill | Termidor SC a bucket (f.e. 5 gallon bucket) a paint stirrer a hand pump sprayer (or any other vaporizer) or a garden watering can |

First, take a 5 gallon bucket and fill it with 4 gallons of water. Mix and prepare the recommended amount of termiticide from Termidor SC:
per 0.06% – 4 gallons H2O + 4 x (0.8 fl.oz) Termidor SC
per 0.09% – 4 gallons H2O + 4 x (1.2 fl.oz) Termidor SC
per 0.125% – 4 gallons H2O + 4 x (1.6 fl.oz) Termidor SC
*or look up in the Table of Termidor SC dilution
Stir the solution thoroughly with a paint stirrer until Termidor SC liquid is evenly dissolved in the water. Pour the concentrated dilution into a watering can.
Trenching in soil and diy Termidor application
For soil treatment with Termidor for subterranean termites diy outdoors, take the pickaxe (trench shovel) and dig a trench in the ground around the house directly against its foundation. Inspect the soil and mark location of termite activity. The trench should be dug directly along the foundation of the exterior wall where you observe termites and in this area you apply the Termidor solution of the highest concentration 0.125%. It is required to be maximum of 6 inches wide and about 6 inches deep or to the bottom of the footing. If trenching is required in sloping soil, the trench has to be stepped to provide sufficient distribution and to prevent Termidor finished dilution from running-off, which is very hazardous for aqua ecosystems. The solution should be mixed with soil as it is replaced in the trench. The foundation of the building makes up one side of the trench.

4 gallons of solution are enough for the trench of 10 linear feet long. Pour the Termidor SC finished dilution (from a bucket or a garden watering can) slowly to distribute the liquid evenly. Wait for the solution to soak up or drench. Then move the soil that was removed back into the trench and treat it with termicide again. For this purpose use the hand pump sprayer or any other vaporizer and fill it with one gallon of 0.06% termiticide solution. The Termidor product should be mixed with soil as it is replaced in the trench. Spray down the returned back soil until moist.
Drilling in concrete and application of Termidor for subterranean termites diy outdoors
If there is concrete areas, namely a slab or sidewalk, against the building foundation in the zone for treatment, it will be necessary to drill through the concrete in order to deliver the Termidor termiticide liquid to the soil beneath. Take the hammer drill with a 1/2 in x 18 in concrete drill bit and start drilling vertically holes into the concrete as deep as you are able into the soil every 12 inches along the foundation wall.
To treat with Termidor for subterranean termites diy outdoors under the basement floor slab, you should drill vertically through the slab along the foundation, along all concrete expansion joints, cracks, plumbing and utility services penetrationg the slab.
When the holes are already drilled, take the 0.09% or 0.125% Termidor finished solution and fill the holes at rate of 4 gallons for each 10 feet. In other words, if you have 10 holes over 10 linear feet per foot of depth, you should fill them with 4 gallons or a little less than half a gallon per one hole. For this purpose, you can use a funnel and a watering can. Though, it is better to use a sprayer on a “pin stream”. It is convenient and can force the liquid down the hole without splashing it.
If the dirt is very slow to drench, you can re-fill the holes each hour about 3-4 times to get the sufficient amount of fipronil termicide down the holes.

Patch the treated holes with a concrete patch filler, which you can buy at a home depot. For clean-up stage, you can also use plugs, made of non-cellulose material. Or just cover holes by a water-proof non-cellulose material.
Leave a Reply